Showing posts with label craft. Show all posts

Saturday, 3 August 2013

Leaf Painting and Big Art Project - Easy Autumn Craft for Kids of all Ages


This was a great craft which took up most of an afternoon.

Step 1: Find some leaves
You will need: A bag/packet for the leaves which may be damp

We took a walk around our neighbourhood and raided all the gorgeous fallen Autumn leaves along the roadsides.  Even under a single tree you will find big and small leaves, different types, colours and textures.  It's fun to let the kids be picky about what they choose for their bag.


Leaf hunting
Then take them all home. If they are damp then spread them out on a plastic mat and let them dry for a bit. Clever Daughter really enjoyed admiring her collection and laying them all out.


Step 2: Painting
You will need:
  • White A4 paper
  • Coloured liquid paint. We used Crayola washable kids paint so my toddler could have a fun too without causing any damage.
  • Protective painting sheet: If you are only aiming to do the small page leaf prints then a regular painting protective sheet will be perfect.
  • For the larger painting project having something you can paint on from the start is ideal. A large sheet of paper will do well or in our case an old disposable table cloth.

Leaf Impressions: How to do it: 
  • For a detailed impression paint the underside of your leaf where all the veins are more visible.   For a solid leaf shape, paint the topside.
  • Now press it down and rub all over to be sure to get as much contact with the paper as you can.

  • Time for the great reveal! Peel that leaf off the page but try not to drag it or it will smudge.
  • Pretty!
  • Now do some more!  Use different leaves and different colours if you like.


A finished picture. A little bit of Autumn to frame.


This is why we use non-toxic washable paint!

Big Art Project: How to do it:

Once we had finished a few leaf paintings we noticed the disposable table cloth we were using looked quite arty itself and since we were going to throw it away anyway... Why not paint it! (Clever Daughter's idea obviously).

So I stood back and let them loose.

That's my hand!

That looks like trouble!

Needs purple!

DinoKid was happy to give it a go.

Just like this!

Fast learner.

Use your feet!

The finished mat.

You are going to need to take a photograph of that final artwork. It's beautiful and personal and messy and awesome and full of fun.

Now throw those kids in the bath!

Some Crafty Kids think Leaf Painting and Big Art are:

Fun: 10/10
Educational: 9/10
Show & Tell-worthy: 10/10


Wednesday, 31 July 2013

Experimenting with Water Absorbing Crystals (The powder inside nappies!) for Home-made Fake Snow

This was a very cool experiment.  I had found a Pinterest Pin a few months before which lead here and I think I forgot the bit about it not actually being the powder from inside nappies. So when we did it, ours went a little something like this:

Home-Made Fake Snow


1. Get about 3 or 4 baby nappies you won't need and prepare to shred them.


2. Tear the inner lining of the nappy rather forcefully (or cut with scissors!)  You will be met by many layers of cotton wool, but what we want is the grains of powdery crystals which will immediately start to come out. We found shaking and patting the nappy over a large bowl got quite a good yield of crystal powder.  This powder is the hydrogel or water absorbing crystals which usually soak up all of baby's... wetness. 

3. Cotton wool will also fall into the bowl, just pick out the worst bits, give the bowl a good swirl around and the crystals will sink to the bottom and you can try to pick out the rest of the wool. If some remains it will not affect the outcome.

Our collection taken from 4 nappies.


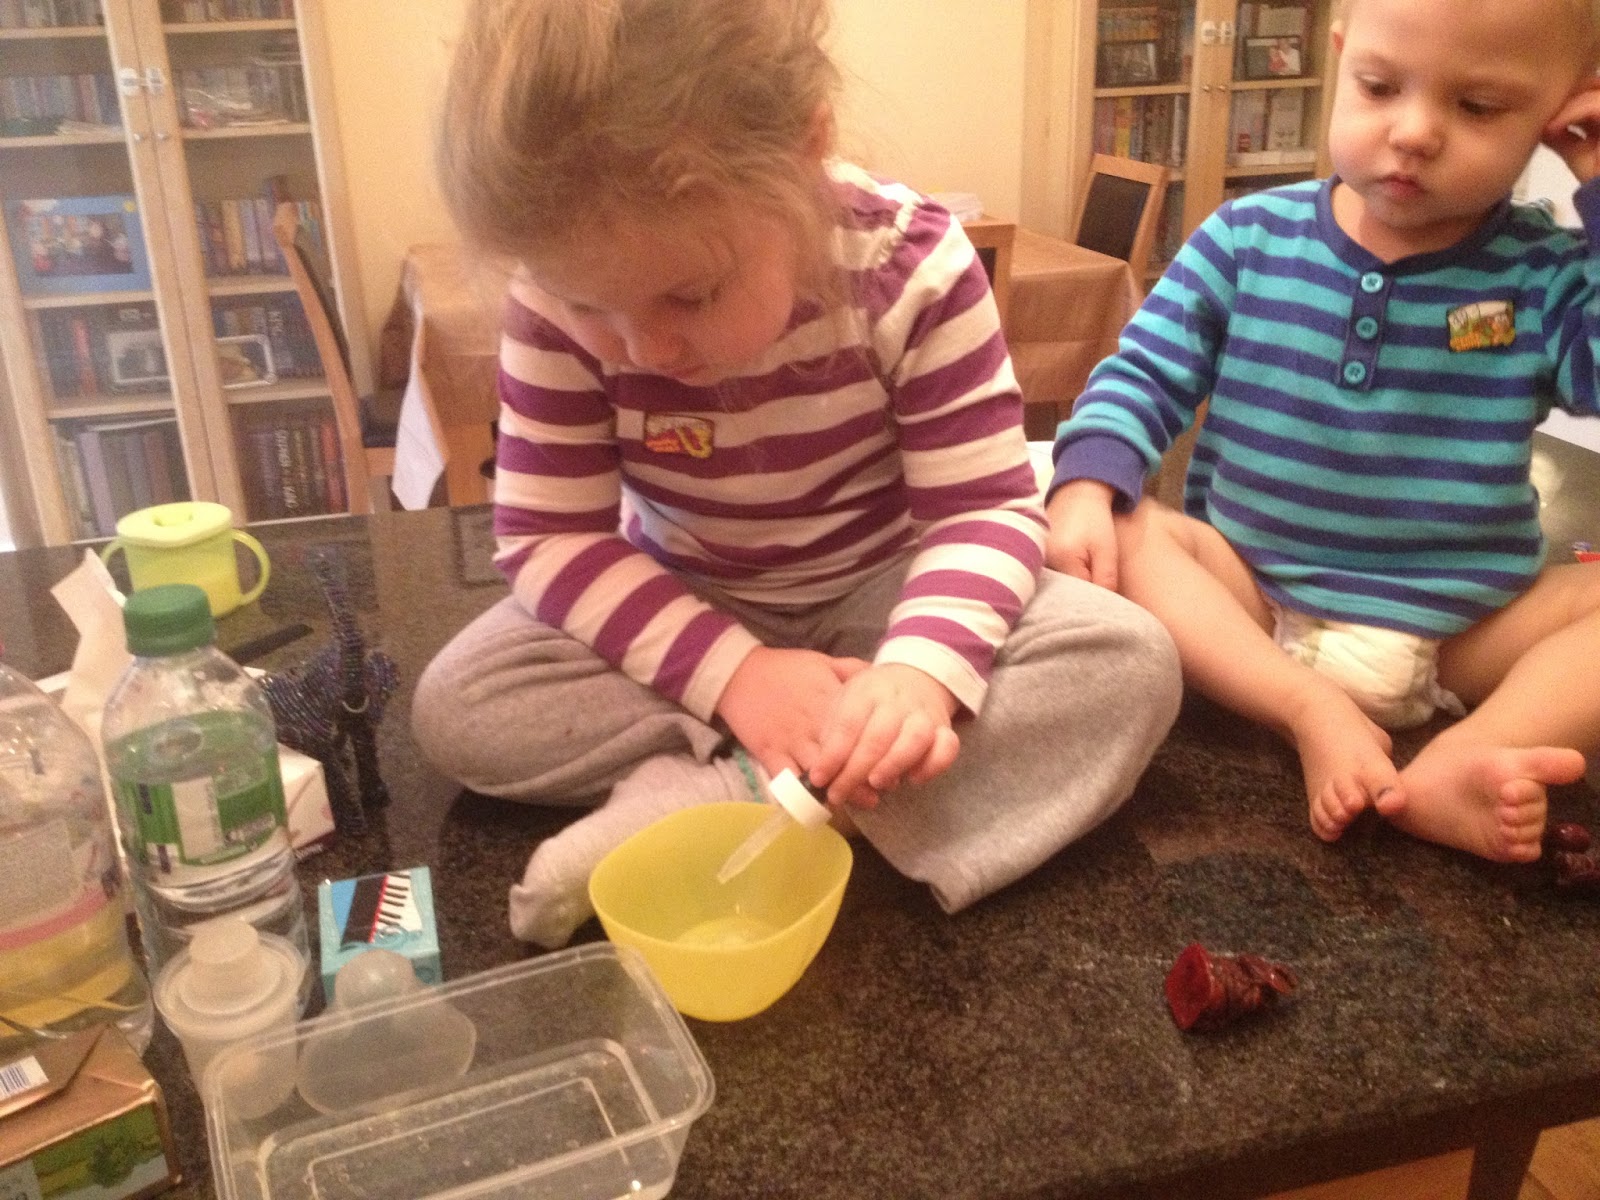
4. Now to add water. We started out with a 1ml dropper


But after 13 drops the gel was still sucking up the water and the kids were getting impatient and looking forward to playing with it!


 So we started again:

  • 90mls water + 1 teaspoon powder.

  • Wait a little bit and watch those little crystals sucking up all that water.

Jenny was amazed as we realised it has changed from a liquid state to a solid.


  •  This is how much "snow" we got from one teaspoon of powder and it would have gone further if we had given it the water and some time.

It is completely safe to handle and hold. But I would say don't eat it. 
 
Play time!  Spoons, bowls and bare hands squashed, scooped, sprinkled and squeezed away about 30 minutes of focussed (semi-messy) fun.

The crystals have a lovely soft texture.
 

You just can't squeeze the water out of there.

Then Clever Daughter looked around the kitchen and said "What happens if we add salt?"  Now I must say that I think she said this because she isn't allowed to play with the salt shaker and thought this might be her chance. But I thought Salt Does Do Weird Things To Water, Let's try!

Yippeee! Happy to add some salt.
 The salt transforms the "snow" back into a liquid!
Left: No Salt; Right: Salt Added.
So I thought I would do one last change up with this fabulous stuff, threw a random amount in a baby food jar with some blue food colouring. Closed the lid and shook it up.

Like an iceberg sucking up the sea...


The kids had a great afternoon, and it was definitely worth the nappy sacrifices.
 
 
Some Crafty Kids give Home-made Fake Snow:
 
Fun: 8/10
 
Educational: 9/10
 
Show & Tell-worthiness: 7/10